This page details how to install nagrestonf using Docker, which is available for most operating systems.
The instructions on this page are for installing Nagios and Nagrestconf on a computer that already has Docker installed. Please search the Internet for the best/easiest way to install Docker on your OS.
Installation consists of the following steps:
SEE ALSO: mclarkson/nagrestconf-docker for alternative installation options and to find out how to change the default passwords.
Open a terminal window or ssh session on the target server then install Nagios using the following commands:
docker run -d --name nagios4 -p 8080:80 -v /opt/nagios jasonrivers/nagios:latest
The following commands will get the custom configuration and start the nagrestconf container:
wget https://raw.githubusercontent.com/mclarkson/nagrestconf-docker/master/jasonrivers_docker-nagios.env

docker run -d -p 8880:8080 --name nagrestconf -v /tmp \
  --volumes-from nagios4 --env-file jasonrivers_docker-nagios.env \
  mclarkson/nagrestconf
Then start the nagrestconf-restarter container:
docker run -d --name nagrestconf-restarter \
    -e NAGIOSCMD=/opt/nagios/var/rw/nagios.cmd \
    --volumes-from nagrestconf mclarkson/nagrestconf-restarter
The nagrestsconf and nagios web interfaces should be accessible now.
Log into nagrestconf with user 'nagrestconfadmin', and the password 'admin'.
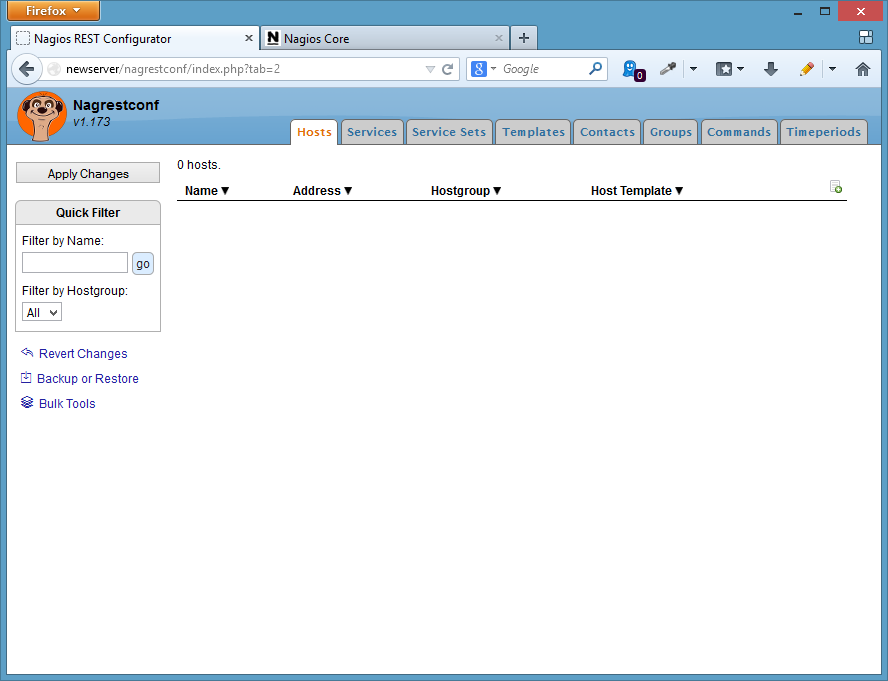
The nagrestconf interface, at 'http://server:8880/nagrestconf', will look like the following screen shot.

Log into nagios with user 'nagiosadmin', and the password 'nagios'.
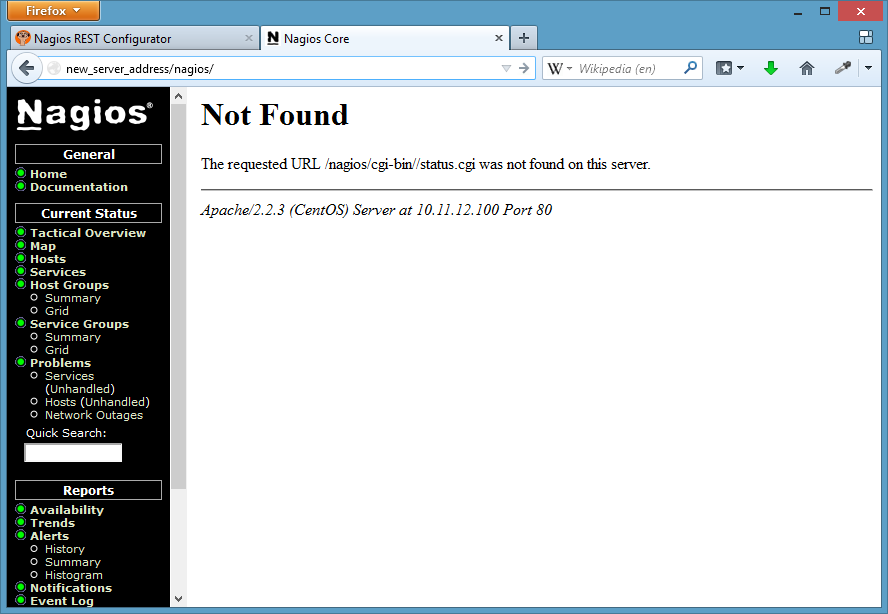
The nagios interface, at 'http://server:8080/nagios', will look like the following screen shot.

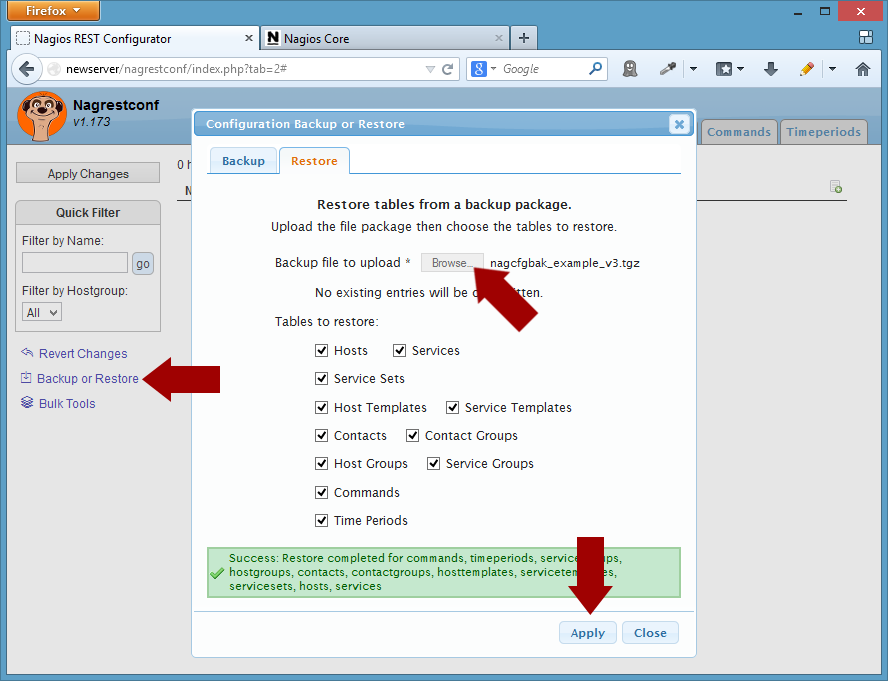
To create a simple test configuration use a script that makes REST calls, or use the 'Backup/Restore' button in the nagrestconf GUI. The latter method will be used in this guide.
An example configuration can be downloaded from this link, then log into nagrestconf and use the 'Backup/Restore' button.

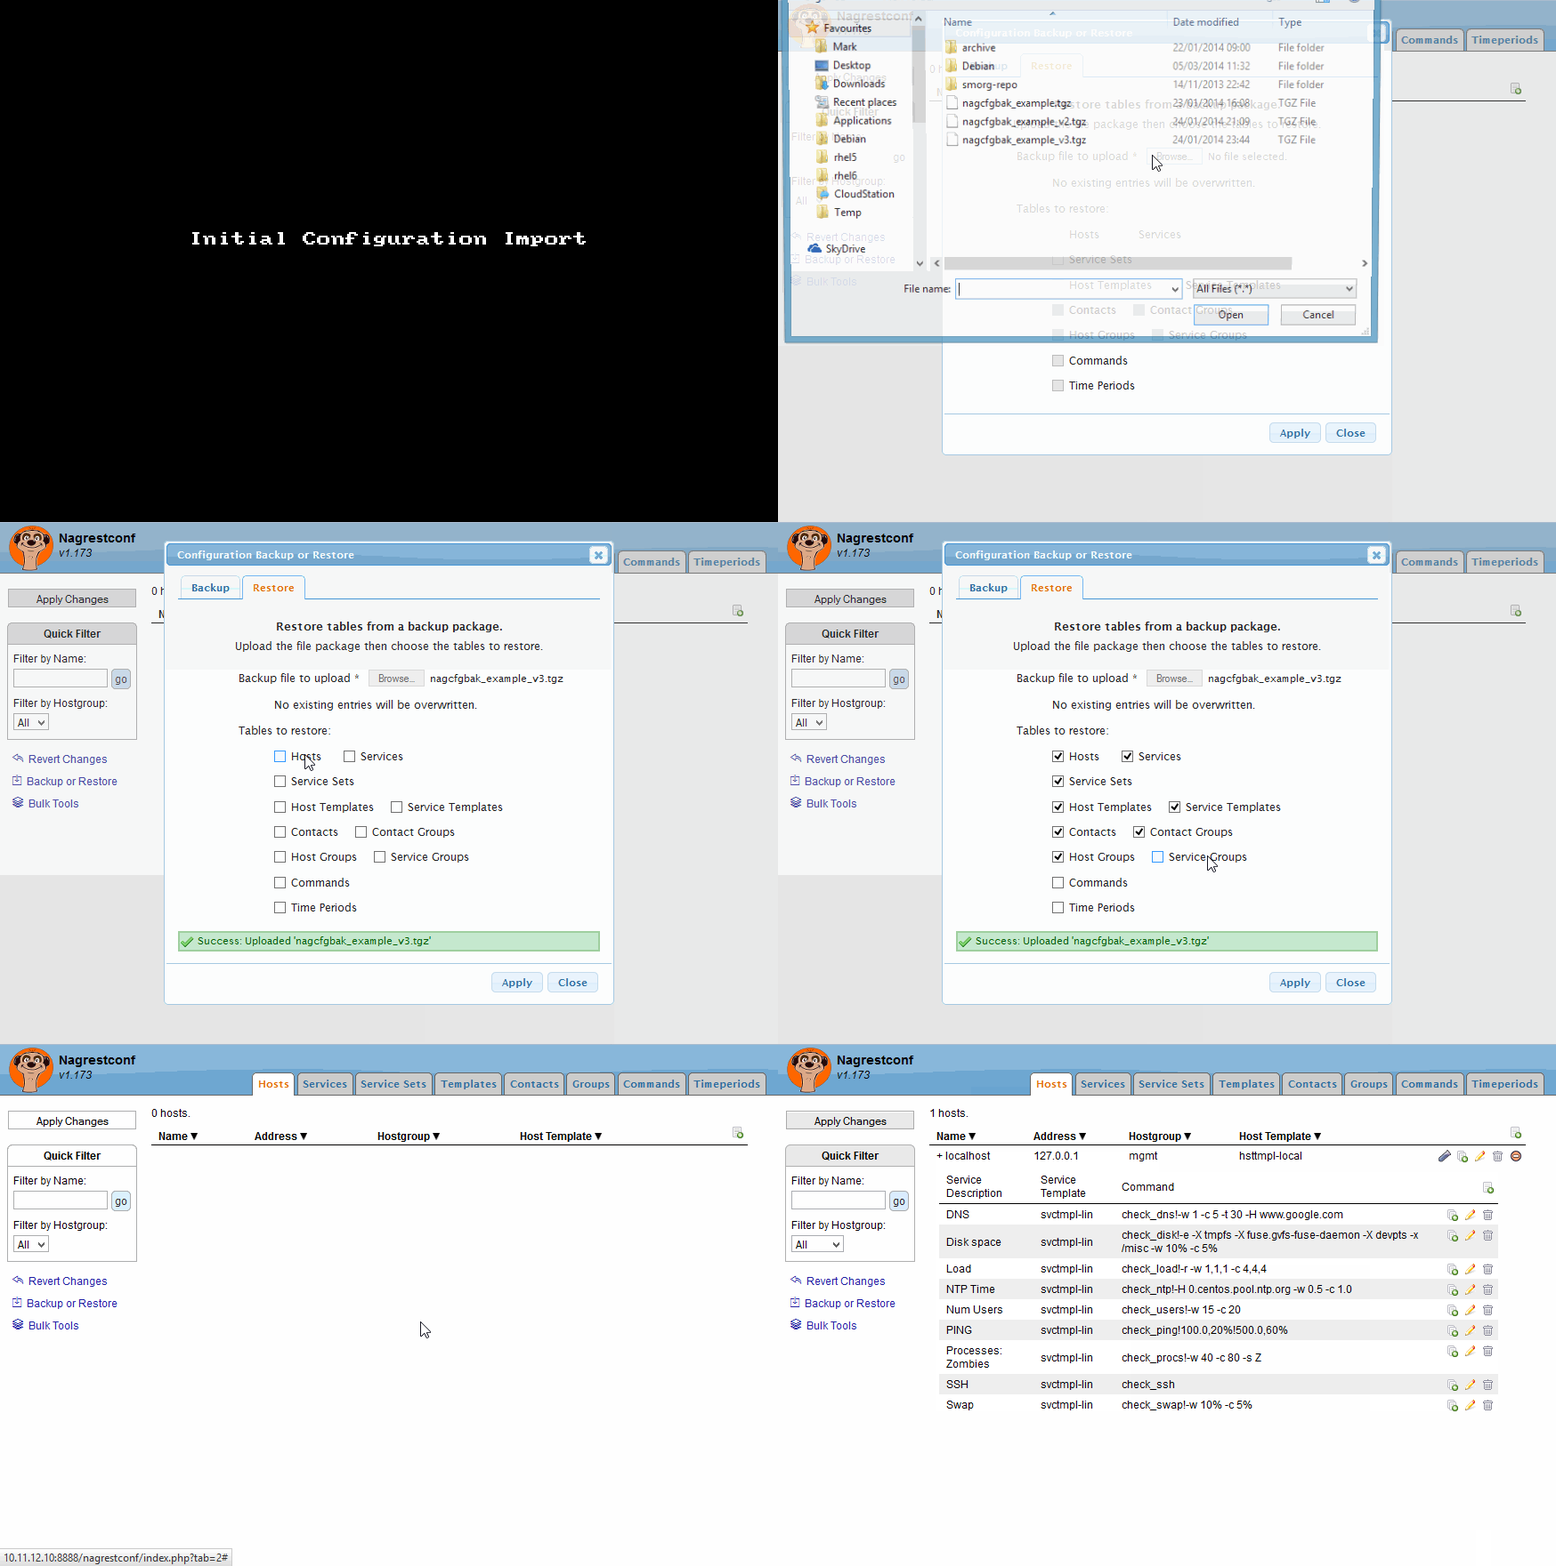
Click 'Close' in the 'Backup/Restore' dialog then refresh the page.
The new configuration will not appear in the Nagios Web interface until the 'Apply Changes' button is clicked, and then applied.
That's it!
comments powered by Disqus