Installation consists of the following steps:
Find your Diskstation in this archived list, and look for the words, 'x86' or 'arm', next to the model of your diskstation to identify the CPU architecture. If you can't find your Synology device in the list then try both packages - the one that doesn't work will refuse to install.
Get the correct '.spk' file, according to your Diskstation CPU architecture, from the download page.
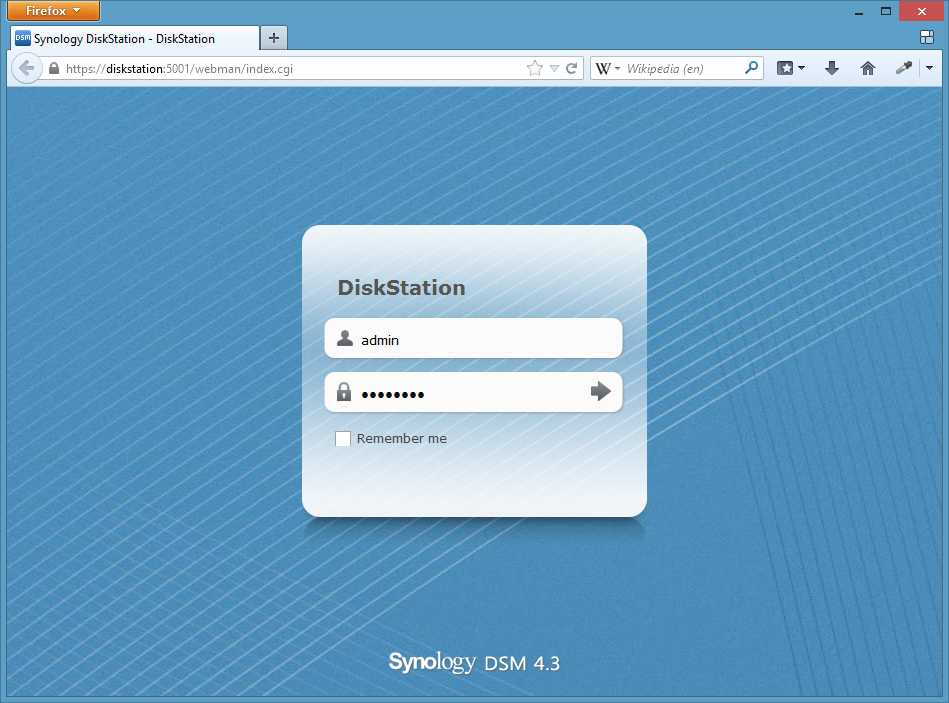

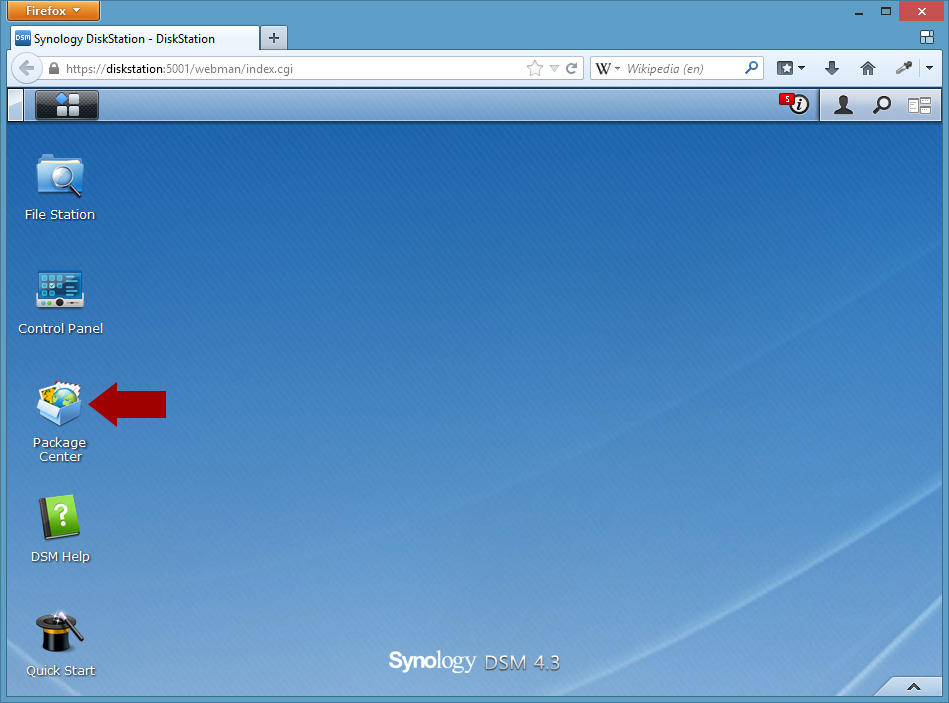

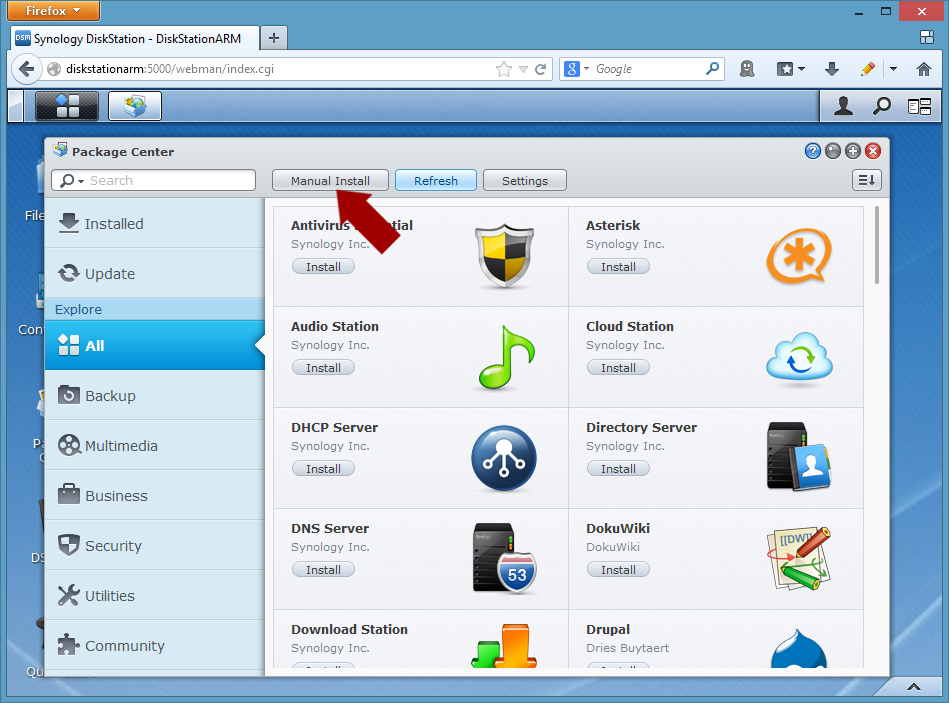

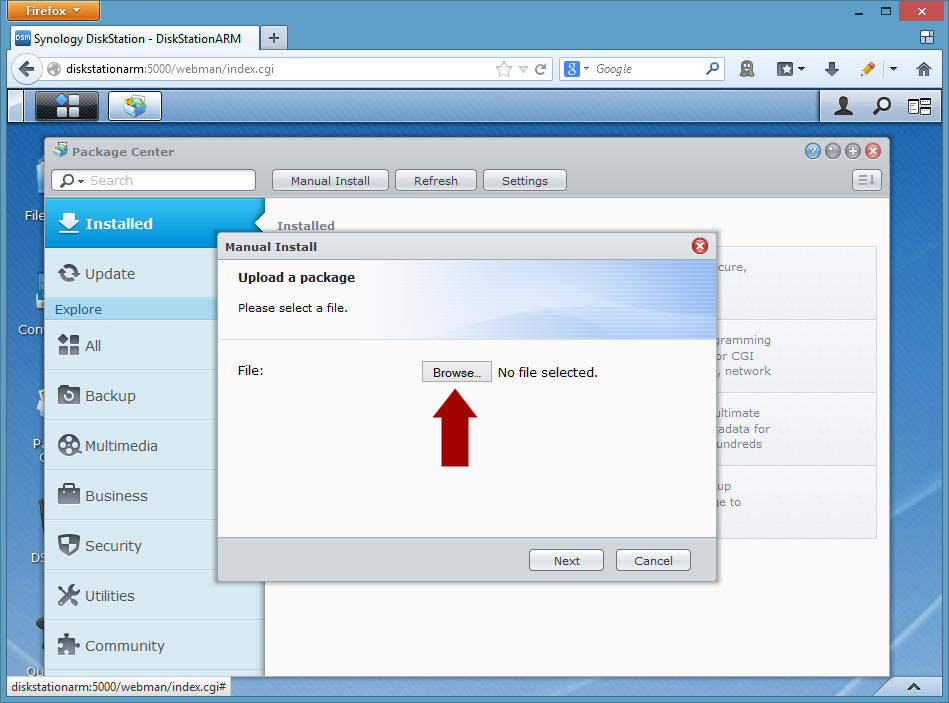
Click 'Browse' and choose the '.spk' file downloaded earlier, then click 'Next'.
The '.spk' package will be checked which can take a while.

The installer will check that the port is available for synagios to use just before copying files.
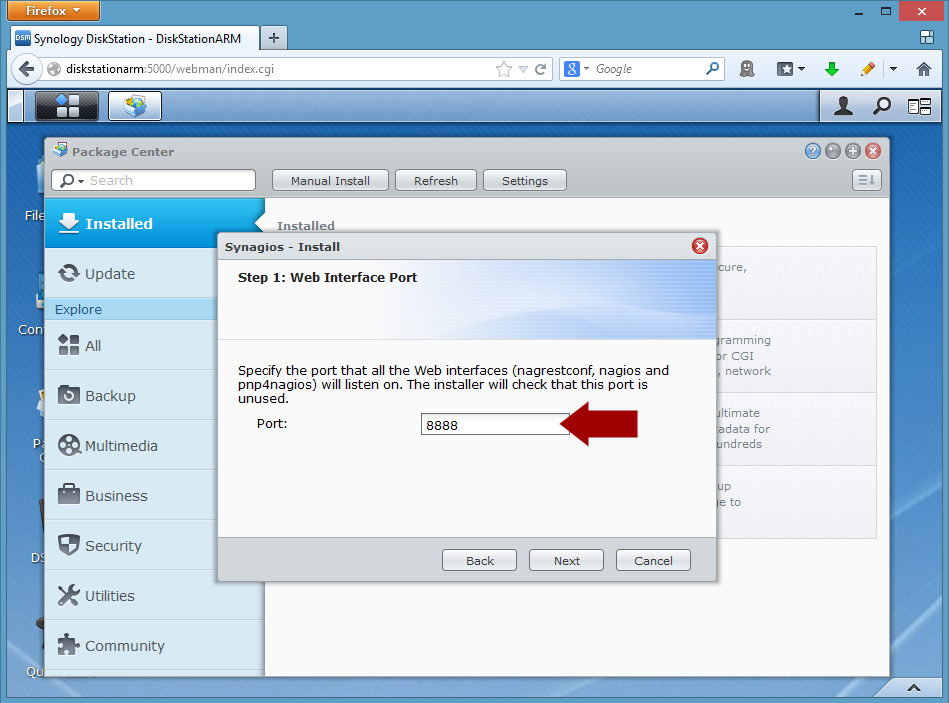

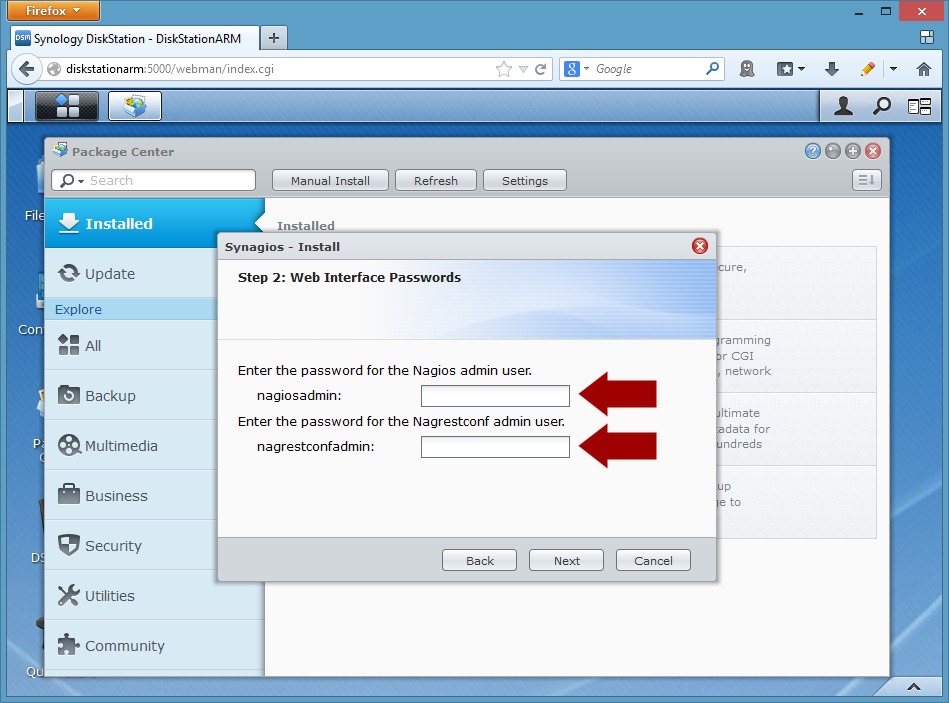

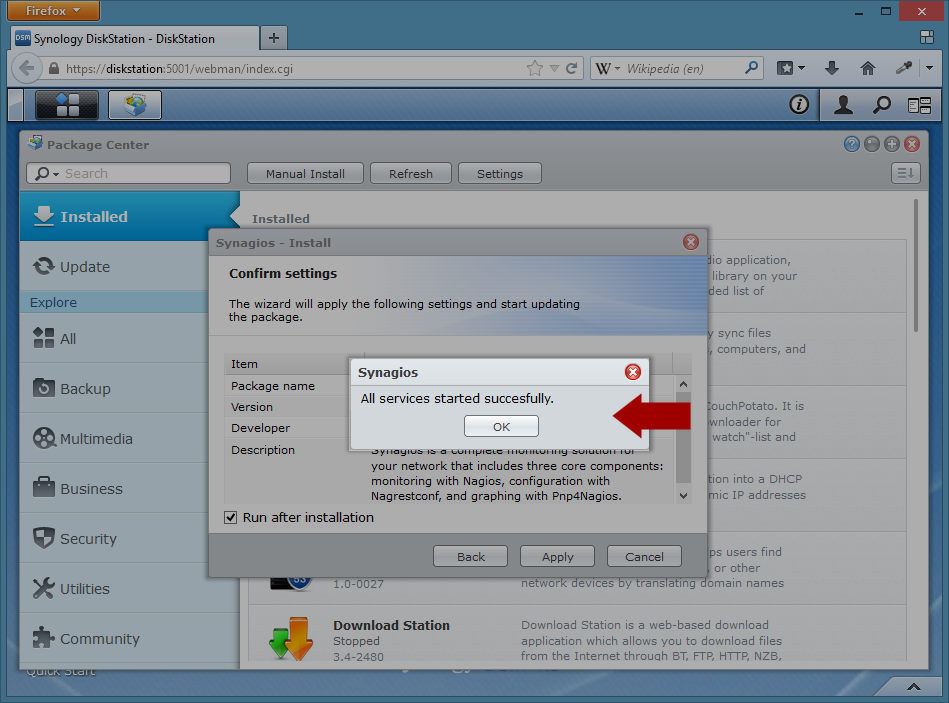
Ensure 'Run after installation' is checked then click 'Apply'.
Installation will take a while then a success message, 'All services started successfully', should be displayed.

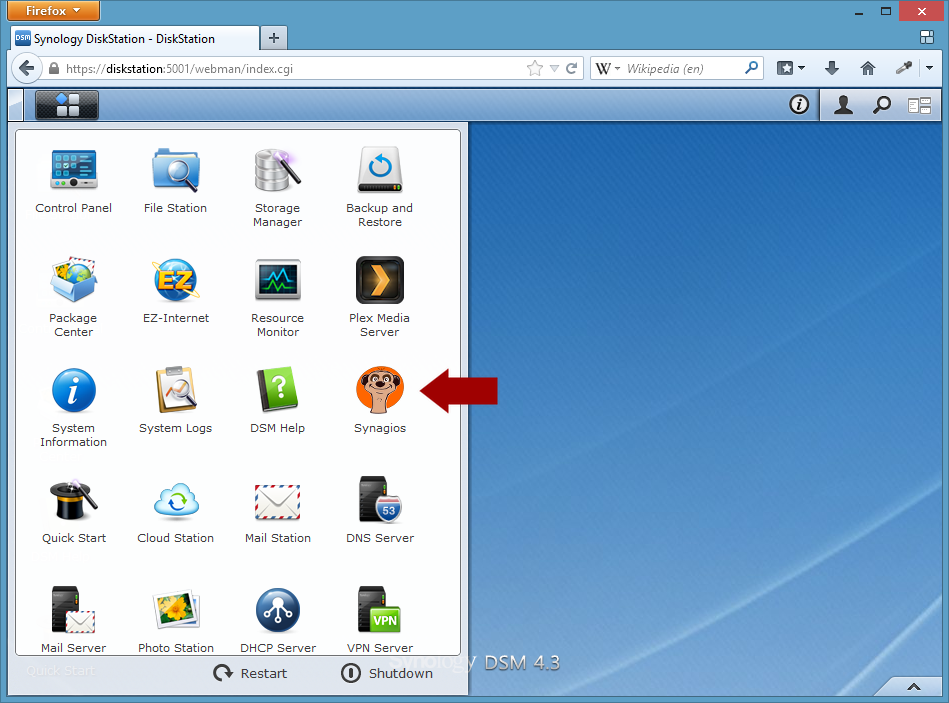
At this point Nagios and Nagrestconf are fully functional but contain an empty configuration. Check that Nagrestconf is available by clicking the 'Synagios' Meerkat icon and log in with user, 'nagrestconfadmin', and the password that was set when the package was installed.

A fully working example configuration can be downloaded from the same place that the '.spk' package was downloaded from, or follow this link.
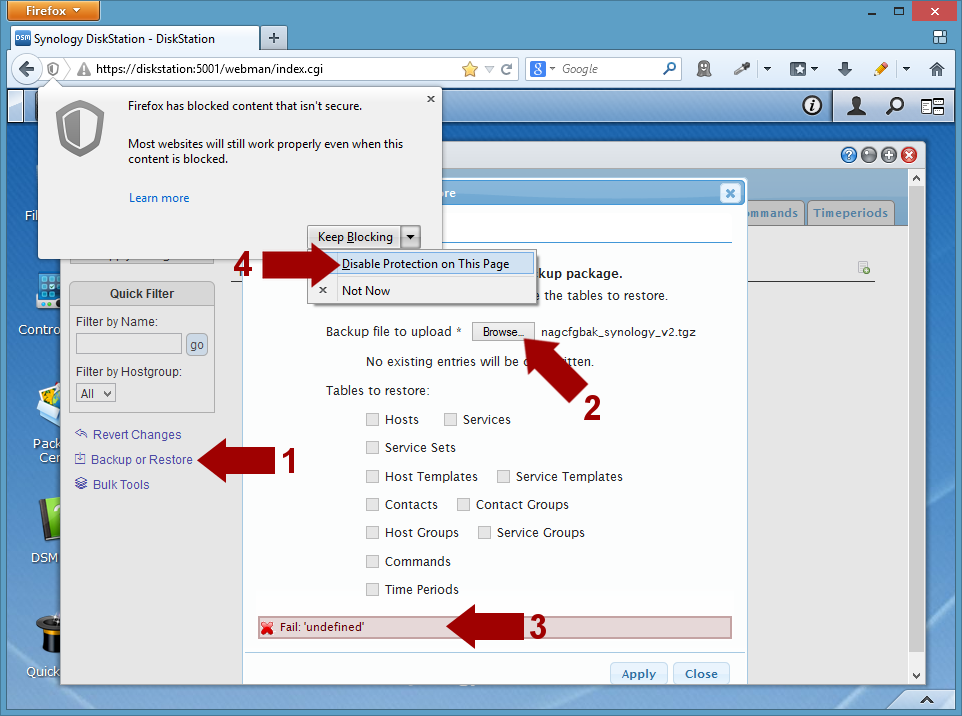
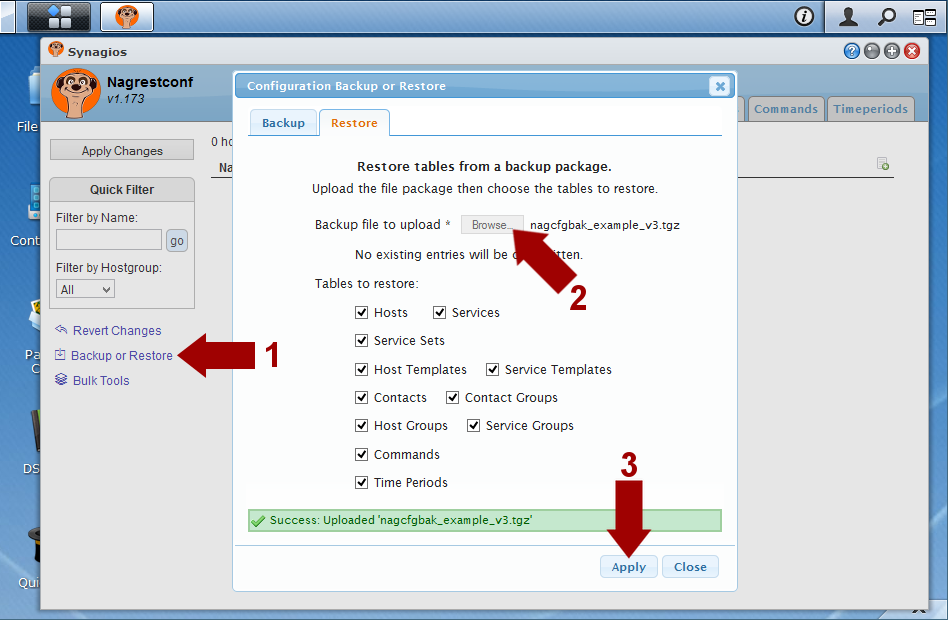
Download the 'nagcfgbak_synology_v2.tgz' file and restore it using the nagrestconf GUI.
If you receive a 'Fail: undefined' message in Firefox, then stop Firefox blocking the unsecured content:

Then restore:

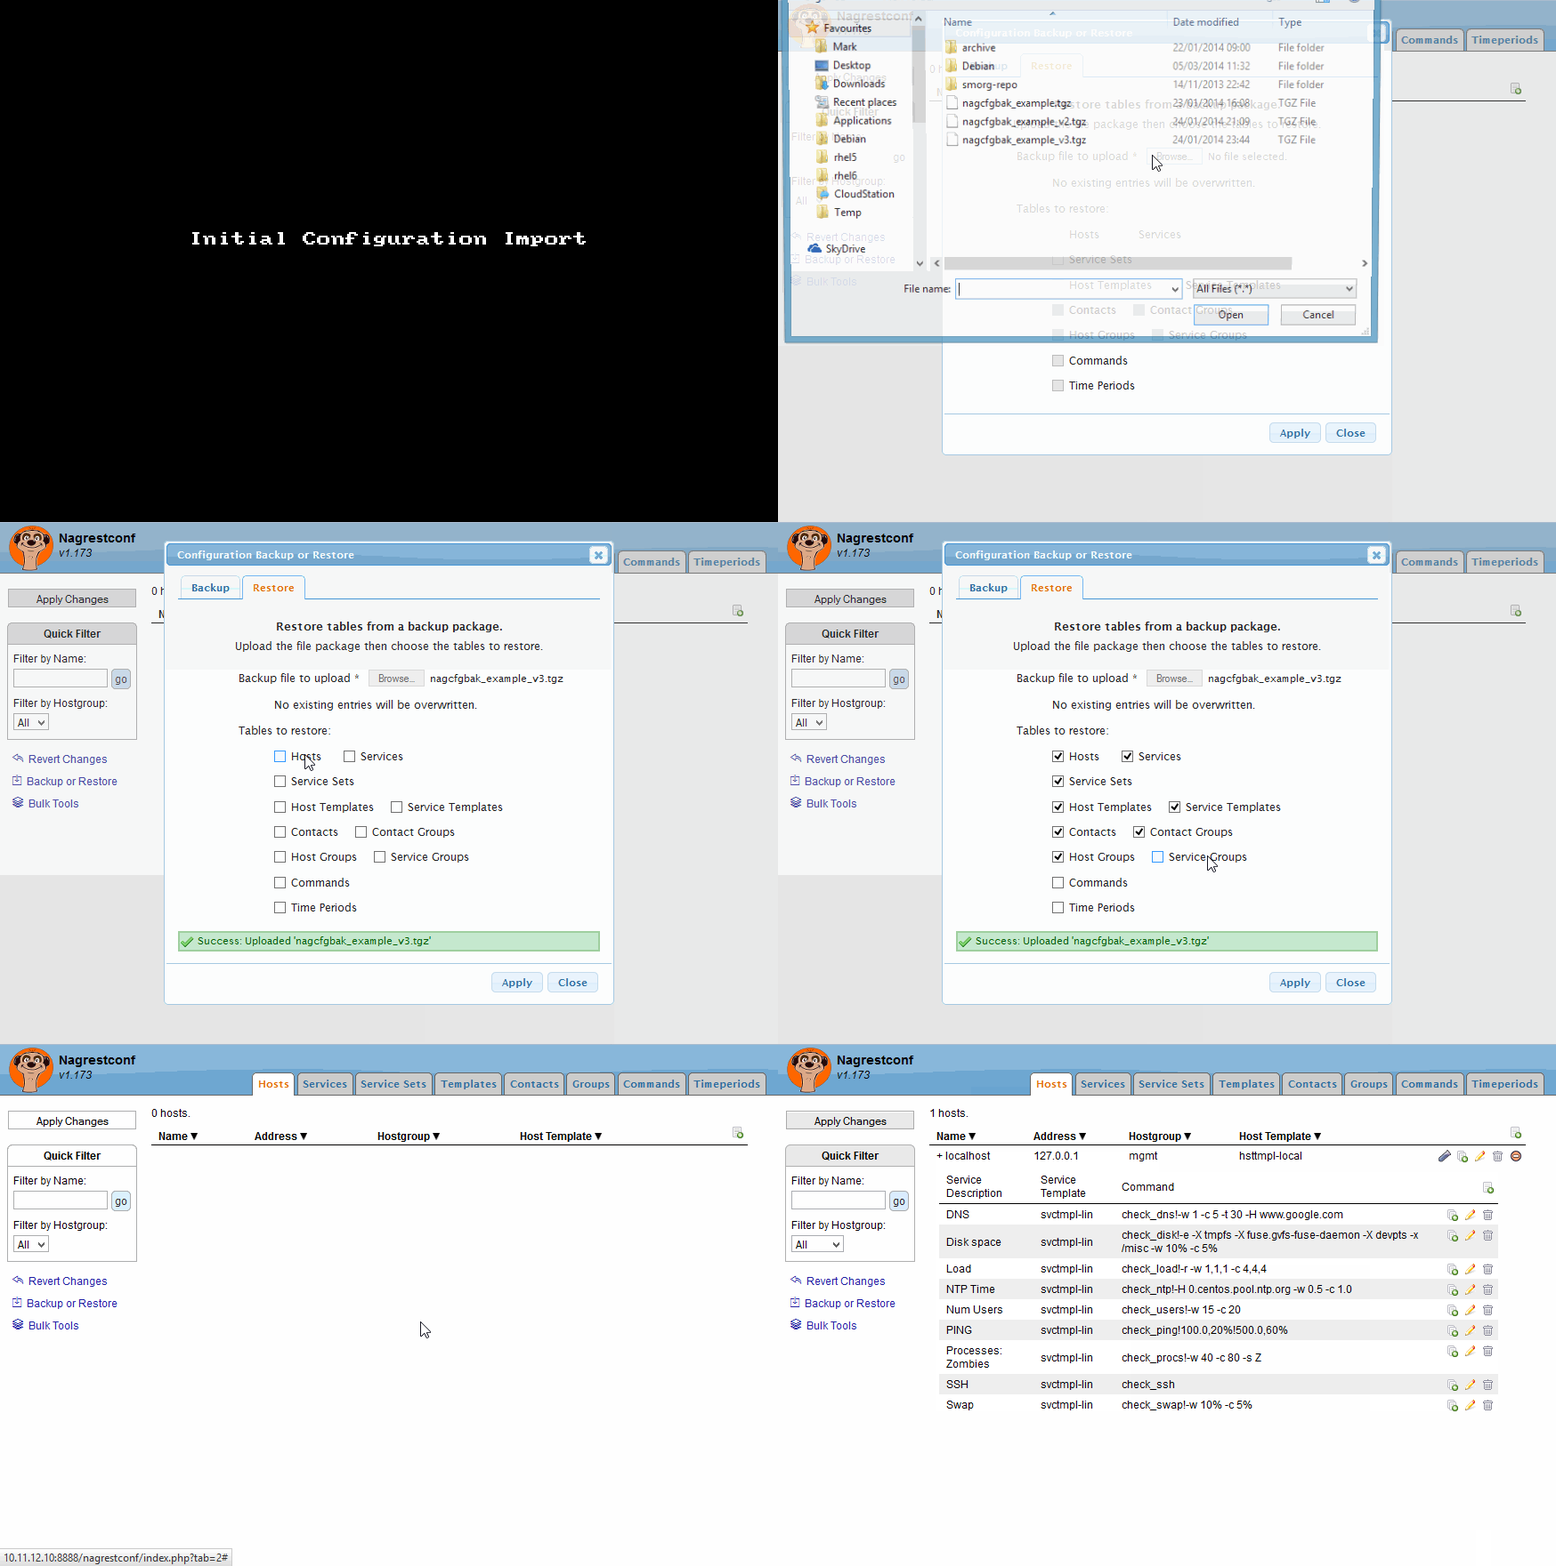
Click on the page tabs to view the configuration.
Optionally set an email address for the 'ds-admin' user on the 'Contacts' page.
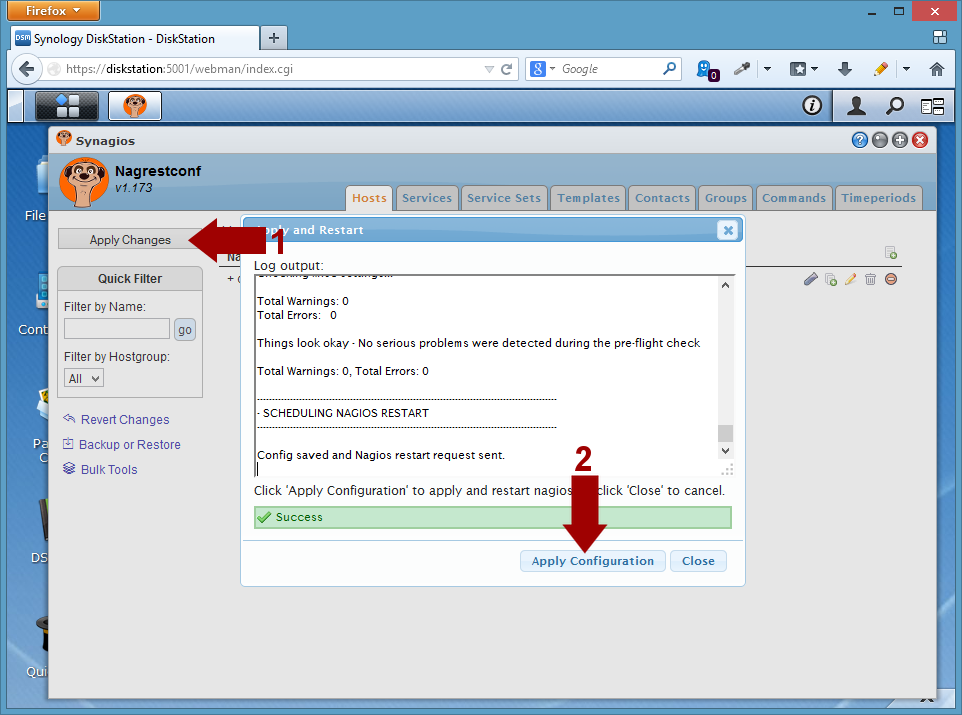
Click 'Apply Changes' in the left side bar then view the Nagios GUI using the user name 'nagiosadmin' and the password that was set earlier.

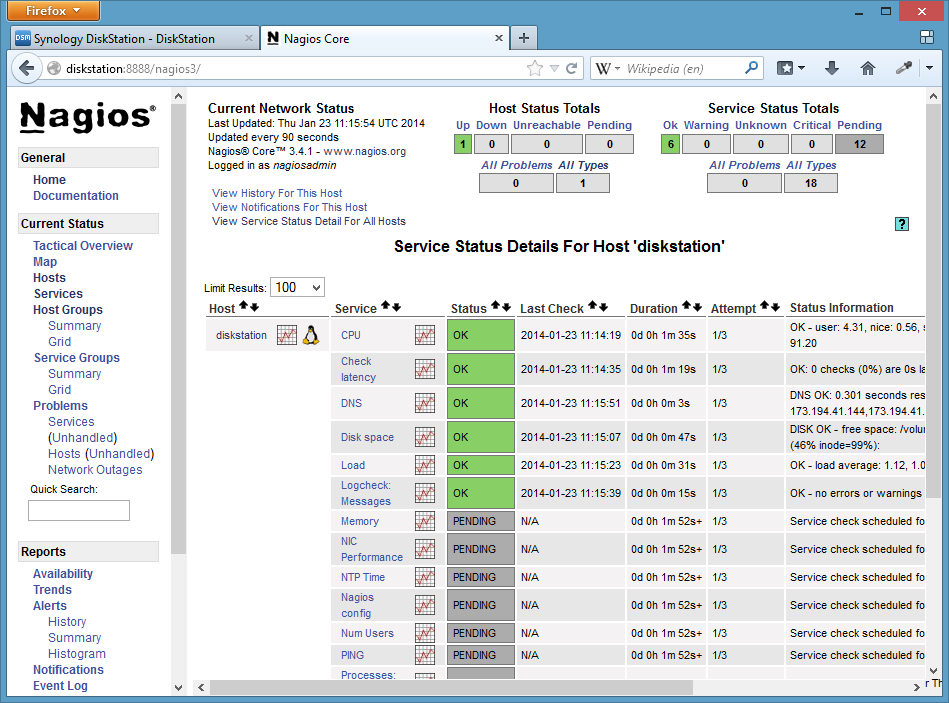

The nagios GUI runs on port 8888 at, http://diskstation:8888/nagios3.
Outside of the Diskstation Desktop, the nagrestconf GUI runs on port 8888 at, http://diskstation:8888/nagrestconf
Thats it!
comments powered by Disqus